

Prof Mat
Members
-
Joined
-
Last visited
Everything posted by Prof Mat
-
-
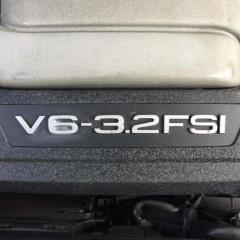
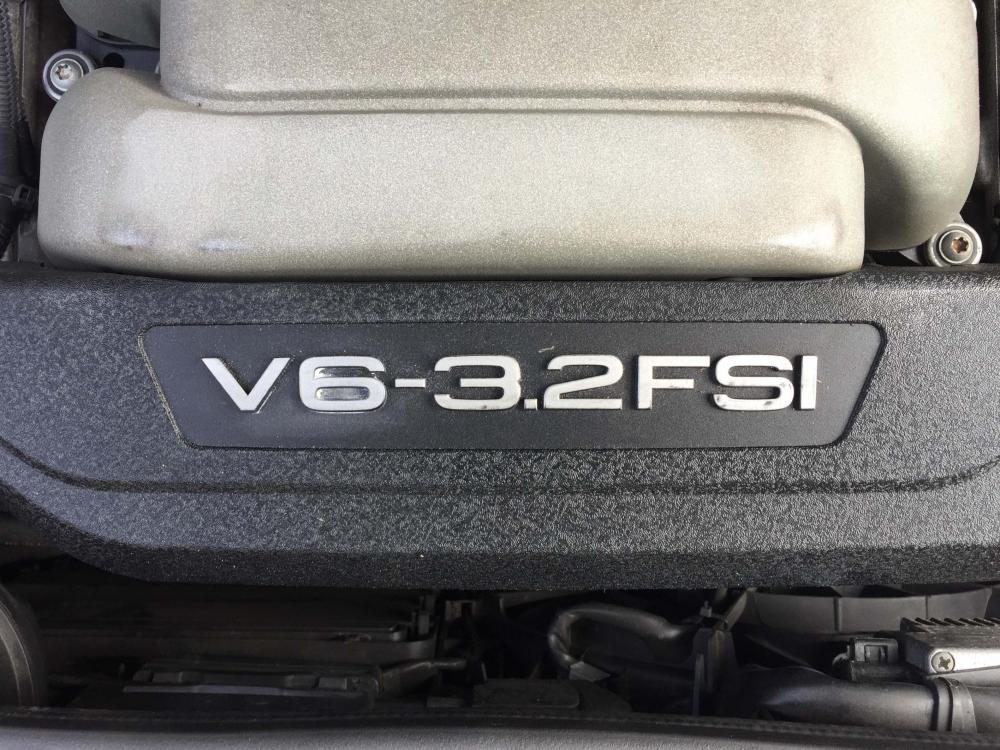
Thanks Gareth, Yes - probably overkill to do the pump but it nearly has to come out to change the thermostat (following workshop manual), and I have a tendency to belt and braces... thanks for the heads-up about Cardiff and Aberdeen... Lincoln Audi were accommodating with a little discount (possibly due to a sympathetic 2007 A4 Q owner on the parts desk 👍). Oh - check codes as per Steve's Q: P2181 - 'engine coolant temperature mapping is lower and out of expected range based on operating conditions of the engine' - makes sense. Another Q: ever used or heard of some who has used: http://www.enginecarbonclean.com/our-uk-pricing/ £100 seems good assuming it actually removes any carbon... Best M
-
Thanks Gareth, appreciate your reply ... I always play the game of looking around for parts and toying with getting cheaper non-genuine, but end up deciding that getting genuine is usually (but not always) worth it. I've just rang Lincoln Audi to see what they want, and its £76 for the thermostat and £116 for the pump... genuine on ebay is no cheaper (versus stat for £35 and pump for £40 for Meyle). I figure a difference of £120 is worth it this time (I will easily save that by not having to pay garage labour). I take your point with if it ain't broke why fix it on the pump (as this usually ends up creating other problems), but I think coolant pumps are the kinds of things it pays to replace (no evidence of ever being replaced before I got it a couple years ago) - I'll do the coolant temp sender as well for £30. Sods law some other cooling part will go once I do all that though... still, stops me getting board... best M
-
-
Hi all, I am almost certain that a thermostat stuck open is the issue here - temp fluctuates between 70 - rarely to 90 and temp drops and stays low when at speed or it is cold... But just before buying parts and taking the spanners out, I wanted to double check: 1 - if others with a 3.2 petrol see temp holding steadily at 90 once warm (and that this temp fluctuation is not some weird idiosyncrasy of the 3.2 engine) 2 - the engine's done 100K - if others think thermostat failure at this age is not uncommon 3 - if I have got the wrong end of the stick and its actually something else 4 - I'll change the water pump while at it - anything else to change while the front etc is off (I did the aux belt and tensioner and pulley not long ago) 5 - what about carbon cleaning (assuming its been running rich for a while)? Any replies appreciated. M
-
Failed door/boot/bonnet close switch? Do you see one of these as open on the dash when it is not? My bonnet close switch intermittently failed - this meant the car registered the bonnet as open when the bonnet was closed and car locked so alarmed - usually at 2 in the morning 😕 My solution was to take out the switch from the lock mechanism. Just cut and tap wires - no current means bonnet closed, so no alarm.
-
Perhaps buy a code reader with service reset tool from ebay - they are very useful - I have this one - https://www.ebay.co.uk/itm/For-VAG-VW-Audi-Skoda-Car-OBD2-Scanner-Code-Reader-Diagnostic-Tool-Reset-EPB-OIL/254657288114?epid=5031296760&hash=item3b4ac1d7b2:g:y2QAAOSwGCxf2MHr
-
Hi all, I came across an issue recently that appears common enough for people to post with requests for solutions but unusually where I failed to find a concrete fix. So here is my stab at this: The other week I went to do an oil check, pulled the bonnet release level and to my dismay felt no resistance and the bonnet remained firmly shut. Bugger – how to get the bonnet open? There is no access from the front – even destroying off the plastic grill will not get you to any bolts that will help. What is the solution without resorting to a can opener and consequentially a new bonnet?? Here it is… It will be much better to download the attached pdf as this has pics that will help a lot, but instructions with no pics are: 1. Go to B&Q (or equivalent hardware store) and purchase a 4-6mm diameter steel rod between 70 cm and a meter in length. Mine cost £2.60!!! 2. Get a decent vice and make two 90-degree bends at each end of the rod about 10 cm from end of rod by hand (I off-set each end by 90 degrees approx.), to make a ‘emergency bonnet release tool’. 3. Get the front of the car on ramps or jack up as high as possible. Remove undertray and get a good torch and get underneath…. 4. You need to locate the bonnet lock mechanism – it’s at the top of the radiator fans. It will be very hard to see… From below, at the right angle, you should be able to see the underside of the lock mechanism look for the large spring. 5. The reason you are unable to open the bonnet might be: 1, the cable has snapped; or 2, (as in my case) the end of the cable has come lose from the lock mechanism. The 2nd issue is common if you have had the front off and lock carrier into the service position and the cable-end has not been seated back in properly… 5. There are actually 2 sites for a cable to connect. If you have a RHD vehicle then the cable seats into the lower slot; if a LHD then upper slot. You need to get the end of your ‘emergency bonnet release tool’ into one of these two slots, and then twist using the lock housing to lever off and move the release mechanism. If you get into the lower slot the twist right; if you get into the top slot, then twist left. If you use a tube spanner or the end of a ring spanner to get on the other end of the rod where the other 90-degree bend is then you get more force and the bonnet should open! Brilliant. 6. I then decided to add a bit of thick plastic cut to size to cover the cable end housing to stop it coming out again. Drill a small hole and tap a screw into it but do not tighten yet. 7. Reinstall the lock, and reseat the cable end properly, then swing the plastic down over the cable end and tighten screw. Not sure if this will work/last, but at least you now have an ‘emergency bonnet release tool’ to sort it… Hope this is of some help…. Bonnet open solution.pdf
-
Thanks Steve - glad it might be of some help 👍
-
OK, so the pics that were in the post did not appear once posted! I attach the word doc that I copied from - hope this make sense to you... Puddle light retrofit.docx
-
I have just retro-fitted LED puddle projector lights to the front doors of my A4 B7 – while there are a few things out there already, I thought to add this guide in case it helps anyone wanting to do this. This is probably the other thing to look at as well: https://www.audi-sport.net/xf/threads/retro-fit-warning-puddle-lights-a4-b7-salon-how-to.138473/ *Disclaimer* - undertake all modifications at your own risk – I am not a qualified mechanic or electrician. Once you have figured out which pin to connect these to, I class this as an easy mod that I think looks cool. You can also install a light in the red reflector on the side of the door, and lights in the back doors, but I didn’t bother. This worked for my Audi A4 B7 (2007) S-line Avant. The wiring diagrams I used covered all B6 and B7 so I predict this will work for all of them - I attach these pics as well. Items needed LED projectors Spade connectors for plugging into the puddle light 2x new wired pins to fit a 32 pin connector (4E0972977) Electrical connectors and tape Door card clips Automotive wire suitable for internal lighting Steps 1. purchase the correct puddle/entry projector lights of your choice – ebay has loads. I went for cheap non-genuine ones that have an S-line logo. 2. Check to see if you already have puddle lights installed! If you do just swap them over. Job done. (if the new ones do not work, try reversing the plug). If not, proceed to 3. 3. Next, you need to check the new lights works and see which terminal is the live one – LEDs are polarised – you need to connect the positive to the right terminal for it to work. You will need to get some spade connectors (good old ebay) to plug the lights into: I have an old low juice car battery and so once connected (the cheap ones I had needed the pins bending a little to get the plug in) just (with a pair of gloves for insulation) touch the ends of the wires to the battery terminals – if nothing lights up swap over. This will allow you to determine which is the live side. Make a note of this. 4. Next you need to remove the door cards. See this: https://totaltechnik.com/video-details.php?vid=19. You will break some clips; use ebay to get a bunch of spares. I bought a pack of 20 for £3.50 5. The bottom of the door has a template for the puddle light hole – cut this out. I used a 5mm drill and drilled lots of holes around the outside and then a blade to cut through these and a file to even up. Don’t cut the hole too large as the light just clips into place. 6. Next you need to wire up the puddle light. Here is the wiring diagram for the driver’s side door for a car with puddle entry lights (also attached with better res) If you scrutinise this, you can see that W31 is the one we want to focus on – this is the puddle/entry light. W30 is the red one on the side of the door. The live side is wired to T32c/13 – this is PIN 13 of the 32 pin connector. The same is true for the passenger side – entry lights go to PIN13. This is the grey connector you just unplugged to remove the door card. You need to open this up: cut the cable tie and slide out the pink tab at the end, then the connector can be slid out of the housing. You should see the pin numbers on the white connector 1 and 16 on one side and 17 and 32 on the other. Go to PIN 13 – there should be no terminal in there: you need to put one in. I bought a pre-wired 32 pin connector off ebay (pic) and removed some of these to use – push a fine point down on the raised metal tab on the pin and gently pull the wire – individual connectors should slide out easily. Insert this into PIN 13 on the door card connector: driver’s side (has many more wires due to having many more switches) And passenger side: In both cases the green wire/pin is the new one inserted. You now need to wire up the live side of the LED to the wire you have just added to PIN 13 in the connector. You can solder but I just used simple wire connectors and (see the white thing on the right in the first picture) automotive wire – but any copper core wire the same thickness as the ones already in the door will do. You next need to connect the other wire from the light to an earth. The brown wires – any brown wire – in this door all go to earth and it does not matter which one you spice into. I chose the one that was most accessible – the window regulator on the passenger’s side and the mirror switch on the driver’s: Cut wire and route and tape up as you see fit – I chose to follow the route of the existing wires. Also remember that if you want to change the lights at any point you will need enough slack to get the light out and unplug it. Here the finished driver’s side: 7. Remove and replace any broken door card clips and reconnect the door card (remember to connect the plug from the speaker that goes to the door tweeter and the cable for the door release). 8. Test and enjoy. Hope this might be of some help... driver's wiring diag.pdf passenger door wiring diag.pdf
-
Hmm - does it still run if you feed it easy-start? If so it suggests the pump partially blocked or faulty or a partial blockage further up the line. Seems pressure can't get high enough - as you said originally? How brutal is it to get a new pump, or one from a scrappy?
-
What fault codes is it throwing?
-
Thanks - appreciate you letting me know Mat
-
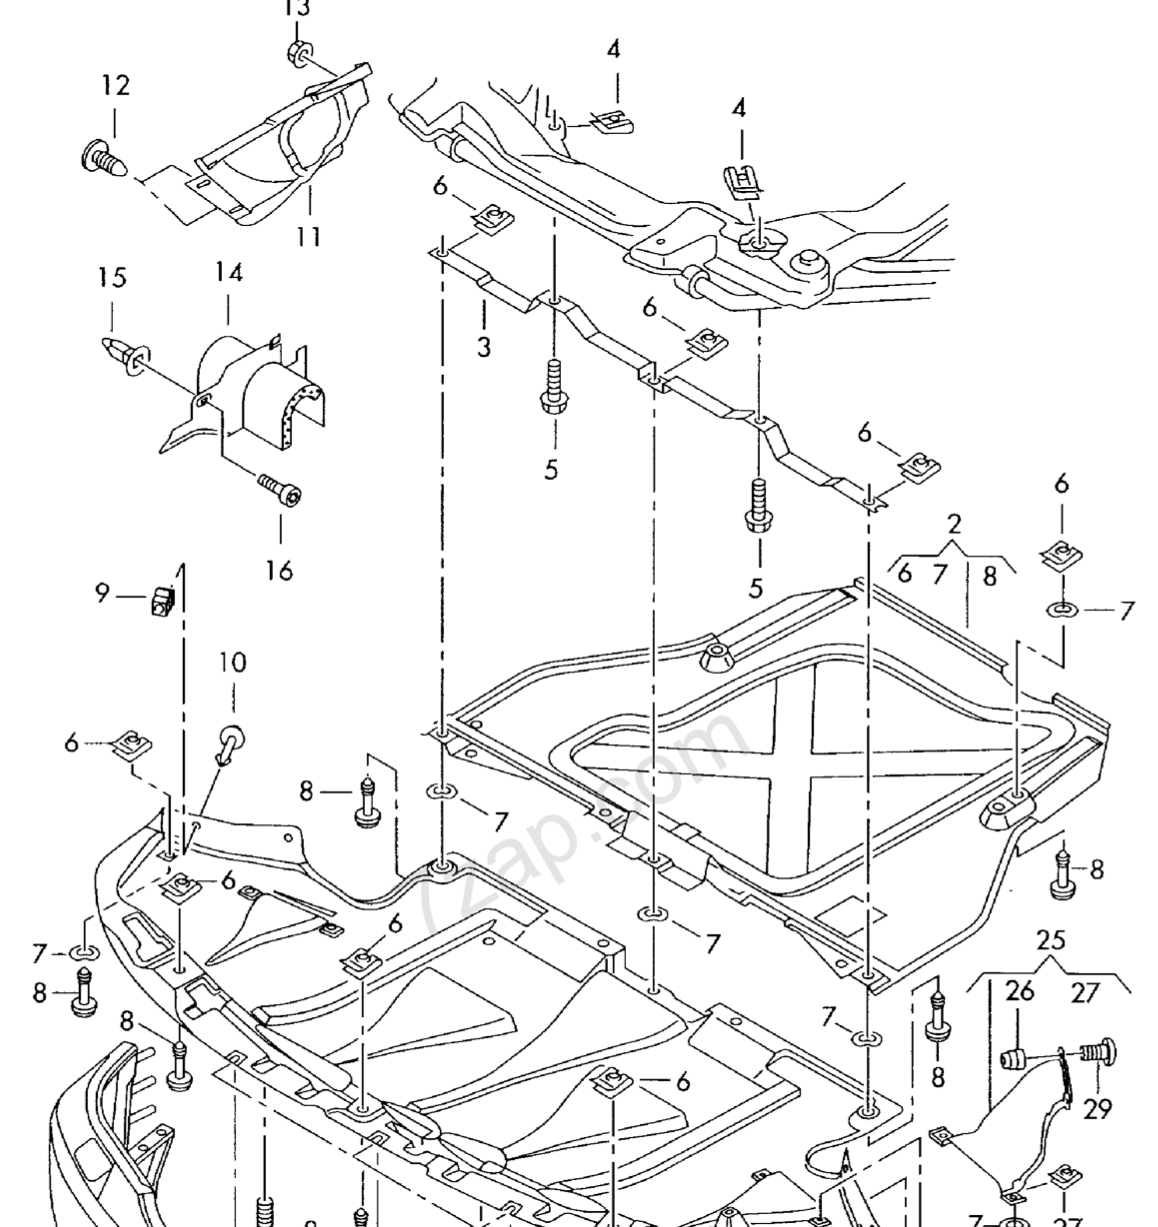
Hi all, Out of curiosity, does anyone know if B7s came with both engine and gearbox under trays as standard, or optional for one or both? I've only had my B7 project car for a year and I am slowly working round it. The (poorly looked after) car came with no engine or gearbox under trays - but what is even more confusing is that it does not have the under tray rear bracket (number 3 in the pic). It either means this was removed for some reason (there have been no gearbox or other subframe/engine issues that I am aware of) or it came from the factory like this. Just wondered if anyone knows what the situation might be? I am putting a new bracket and both engine and gearbox under trays on as I understand it produces slightly better aerodynamics (not that that is really an issue) but more importantly might offer protection. But it occurs to me that if it came from the factory like this then maybe Audi thinks there should be no under trays at all? Thanks Mat

-
I've got the workshop manual for my 2007 A4 with a manual 6 speed (data sticker says the tans is HUN) - more than happy to email this if it helps? Best
-
I had a non-bose concert system in mine but the CD player failed. After much looking and cogitating I decided to steer well clear of the Xtrons etc and go with a solid band and put a Pioneer FH-S820DAB, fitted with Connects2 kit to allow steering wheel control and rear amp power (careful you get the powerup line to the rear amp for the sub-woofer). You can set the button and display lights to red so it kind of matches. Sound is very good for the price... I am about to put new pioneer speakers in the front as I am changing door cards, so that should help as well Hope that helps
-
Hi Lisa, Just changed mine as the old ones were fogged on the inside! Thought I would upgrade also but it is hard - assuming you have halogens then upgrading to HID or LED is problematic for 2 reasons: 1 - the electrics from the main headlight switch (and also possibly determined by the ECU) are set for halogens and you need a major electrical upgrade to change to HID and LEDs; 2 - the light unit itself is designed for halogen bulbs and HIDs/LED may not give the correct patters, and may fail MOT. I bought used headlight units on eBay for about 20 quid each and then stuck Osram Night breaker halogen bulbs in... Changing lights mans the front bumper guard has to come off - not too epic but not a small job HTH