


Steve Q
Moderators
-
Joined
-
Last visited
Everything posted by Steve Q
-
Is the starting issue sorted now? Is it worth having the battery checked, as a failing battery can cause all sorts of electrical gremlins. Could the steering be a failed sensor?
-
Please keep us posted on how you get on. TPS are well known so hopefully the replacement works ok.
-
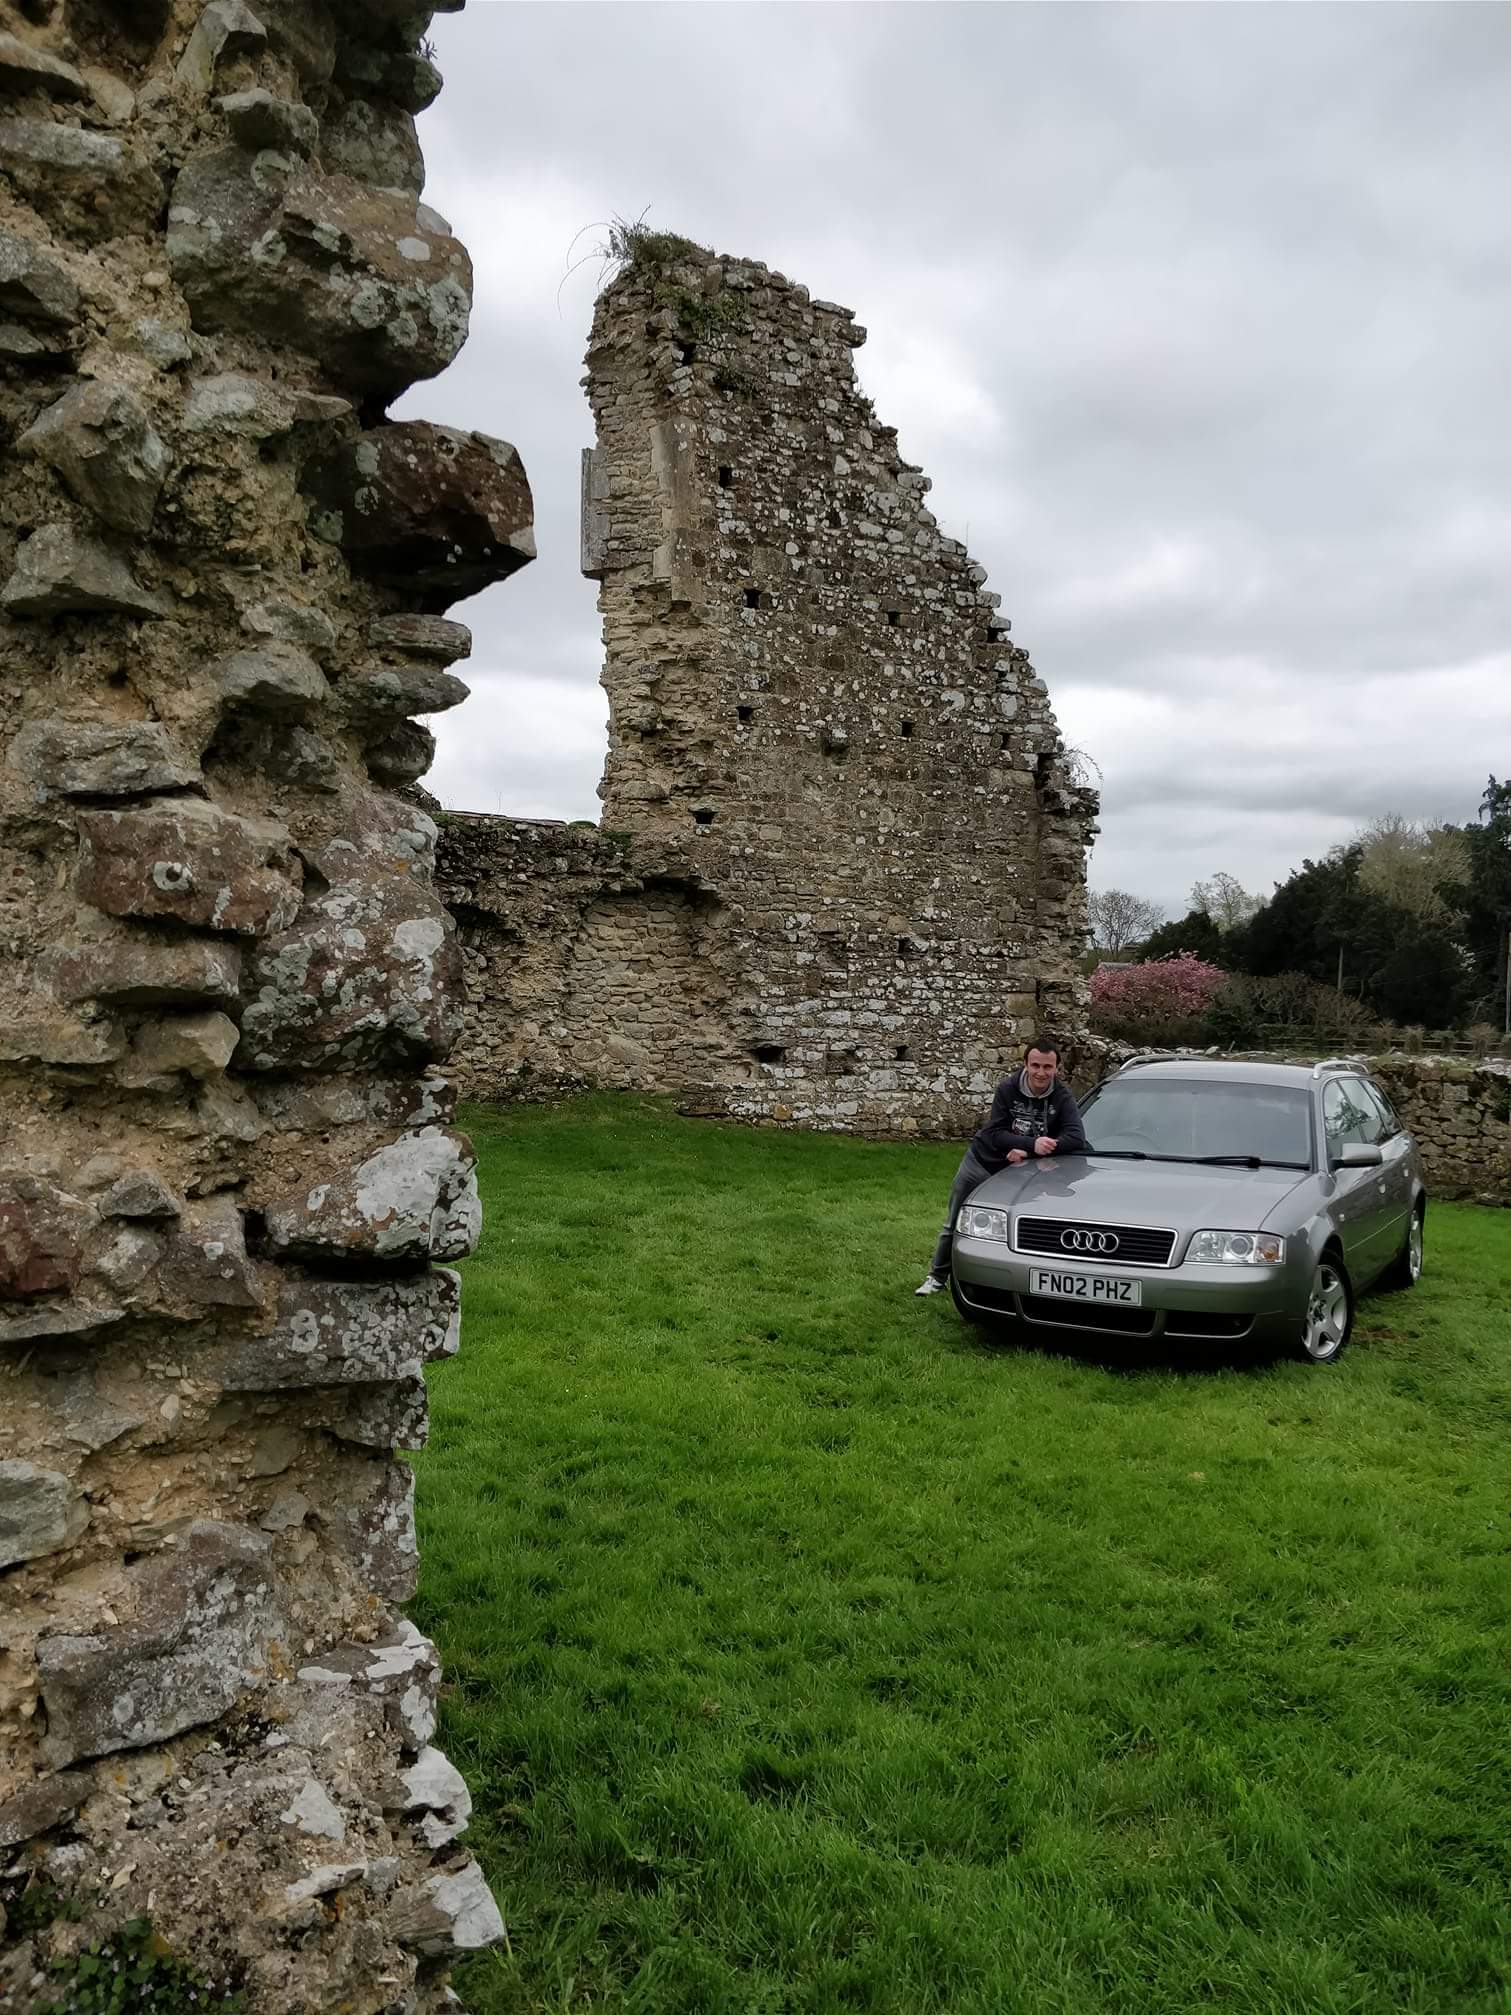
Probably because the Audi is a better quality of car than the Citroen
-
£100 does t seem too bad. Can you not base it off the alternative door
-
Please keep us posted on how you get on
-
Looks stunning!
-
Very nice 👍
-
please keep us posted on how you get on
-
Different coil packs could imply the previous owner has been trying to fix this issue for a while. Make sure the guy deleting any codes saves notes them down first. Please keep us posted on how you get on
-
I'd get this back to the garage that did the work as it doesn't look right.
-
Welcome to the forum you'll find the members on here are a friendly and helpful bunch 🙂
-
Could this be a fueling issue?
-
You're welcome. It should be there as my A6 is of a similar age and design. Definitely not!
-
Airbags
-
Is it noisy? There's cases of humming or ticking noises from the pump:
-
If it's like my a6 the relays will be at the back of the fuse box on the driver side. You access it by removing dash trim under the dash near the steering wheel.
-
Yep 90 degrees is where it should be. Have you had a diagnostic check to see if any fault codes flag up?
-
Support
-
Very nice. Think I've been past it.
-
I hope the service history gives you an idea of what parts have recently been changed. My worry, is that the cars been px'd because of the issue either because the previous owner found it was going to be an expensive repair, or they had enough chasing the issue and spending money on various parts to fix it.
-
-
If a cheap aftermarket bag was used then this could be at fault. Multiple cases of cheap bags failing quickly b
-
Welcome to the forum you'll find the members on here are a friendly and helpful bunch 🙂 Sounds an interesting project. You'll definitely have a better idea after you've got fault codes. How much service history is with the vehicle? Can the seller give you any idea of what work they've done to resolve the issue? Could it be a cam sensor, crank sensor, maf sensor or a fuel delivery issue?.
-
Great advice and great jobs done. Sorry to hear you've got a power drain. Keep us posted on how you get on. Could it be the imobiliser?
-
I'd get this into a garage asap. Let's hope it's a chain and not the crankshaft etc.