


alpha omega
Established Member
-
Joined
-
Last visited
Everything posted by alpha omega
-
hi gareth there is only 2 clutch kits i was told for this car and both are by L.u.k so i was thinking of buying the one i was quoted for at £566 which includes the d.m.f and bolts.or stick it on ebay at 99p start....i paid £2500 around 3.5 years ago
-
would anyone on the forum be willing to put a new dmf and clutch in for me(audi says 8 hours) so a big job....i cannot afford audi prices.i would purchase the parts needed if someone with a garage in yorkshire would be willing to have a go....please let me know asap as clutch is slipping.i would like to keep this car as mentioned i know the inns and outs of it.kind regards stephen
-
hi again gareth first of all to you and others apologies for late replies(personal reason).i was passing ECP so i thought i would call in,but not realising without looking online how much down the hill they have gone.yes you have mentioned a few times about parts in motion.here is a recent quote i was given which includes the DMF and bolts £566(trade price)....i will try parts in motion.i have had 2 quotes for labour(audi) and a local garage both in the same price area.would you or anyone on this forum know if its possible to adjust the clutch on this audi a4 2.0 tdi (b8).kind regards all
-
hi all again.had no internet so apologies.both clutches that fit my car are luk only according to what used to be euro car parts forgot their new name as i cannot find the quote they gave me,but it was around £845 which includes the dual mass flywheel. and then theres labour on top(8 hours).so trying to sell this one and put that towards another,or keep this one knowing the inns and outs of it and what i have had done to the car too regards stephen
-
hi gareth and clifford thanks for your replies been so busy lately will update asap maybe tomorrow kind regards stephen
-
i have exactly the same problem it started with a slight rattle about a year ago.could not work it out and it now vibrates and now the clutch is slipping.been quoted £1,135 labour(8 hours plus the parts £800 by audi....its the price of the dual mass fly wheel thats the killer...similar quote from click mechanic.its been a great car but with 200k it could be time to get what i can for mine and put that towards another audi....just come across this sachs clutch kit from gsf car parts....part no sac2290601059.but unsure if this will fit mine and your audi a4 avant estate 2011 2.0 tdi
-
are you taking the **** (bleep).....only kidding alex...😁 thats a strange one if ive ever heard one lol glad you found the culprit
-
this is not mine but the person selling this on ebay would like at least 11k......anyone interested message him....item no....135026069687......its too much for me but is it worth 11k or is that about the right price.
-
thanks kev i was just wondering for others on here sorry about that.i also had clowns on gumtree so closed my account with them never heard of swapz.good luck with your sale regards stephen
-
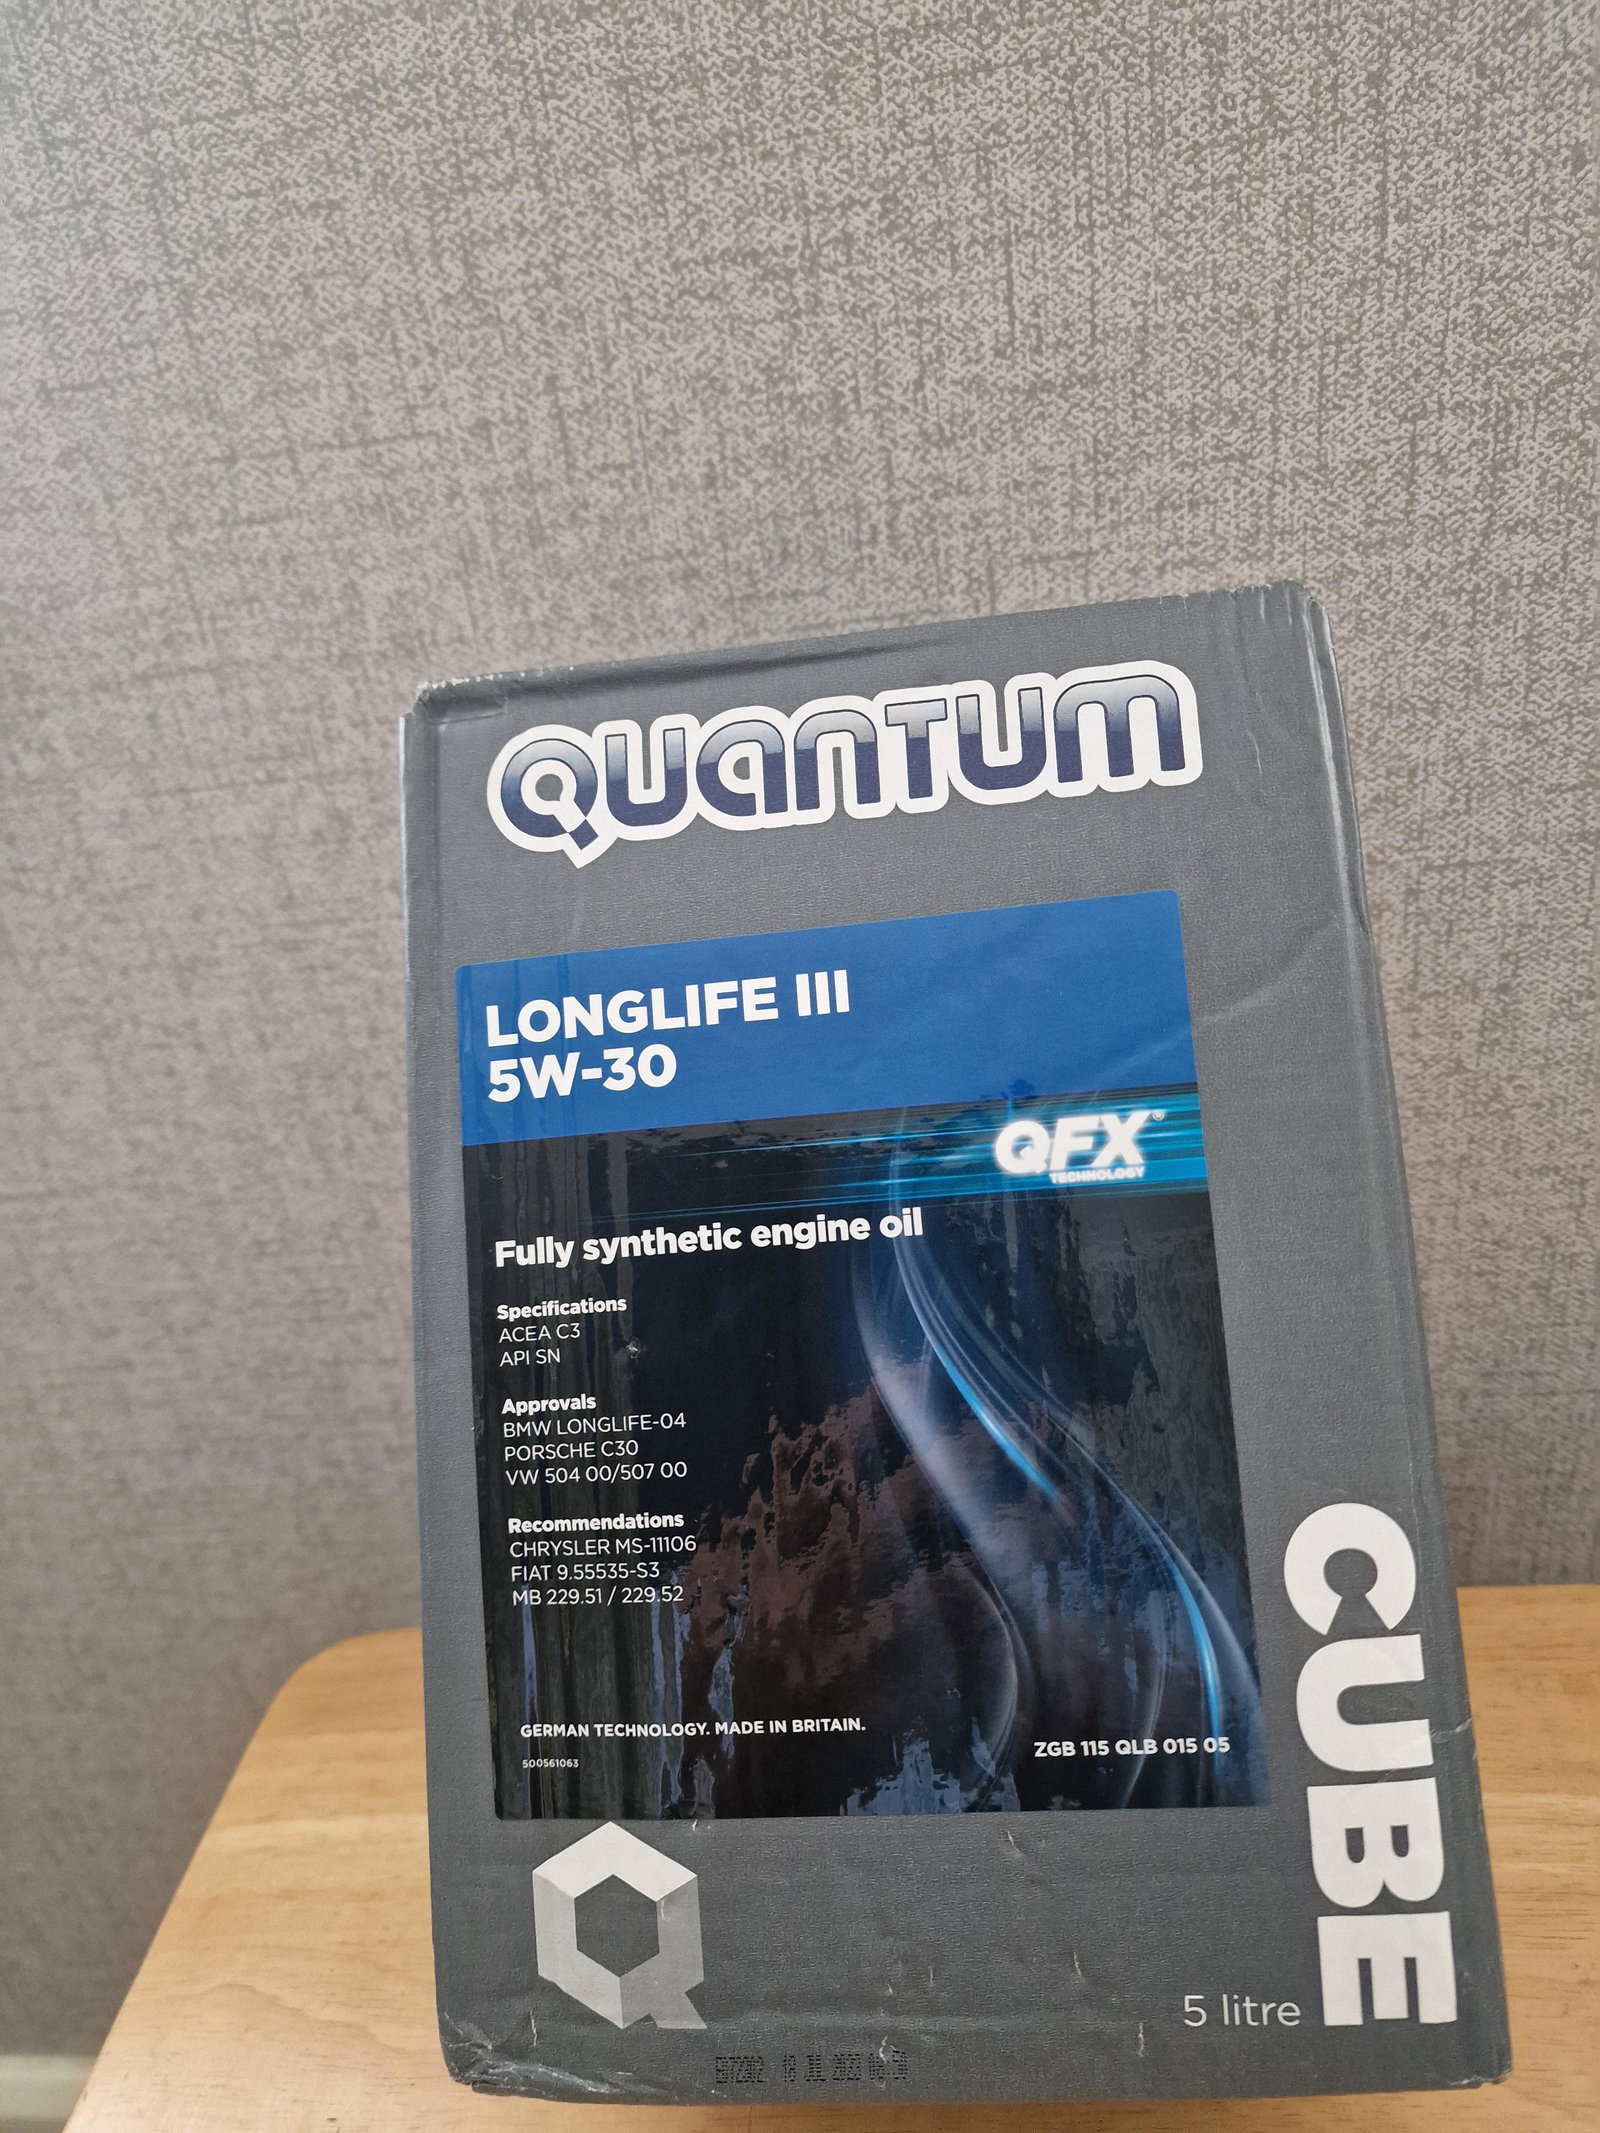
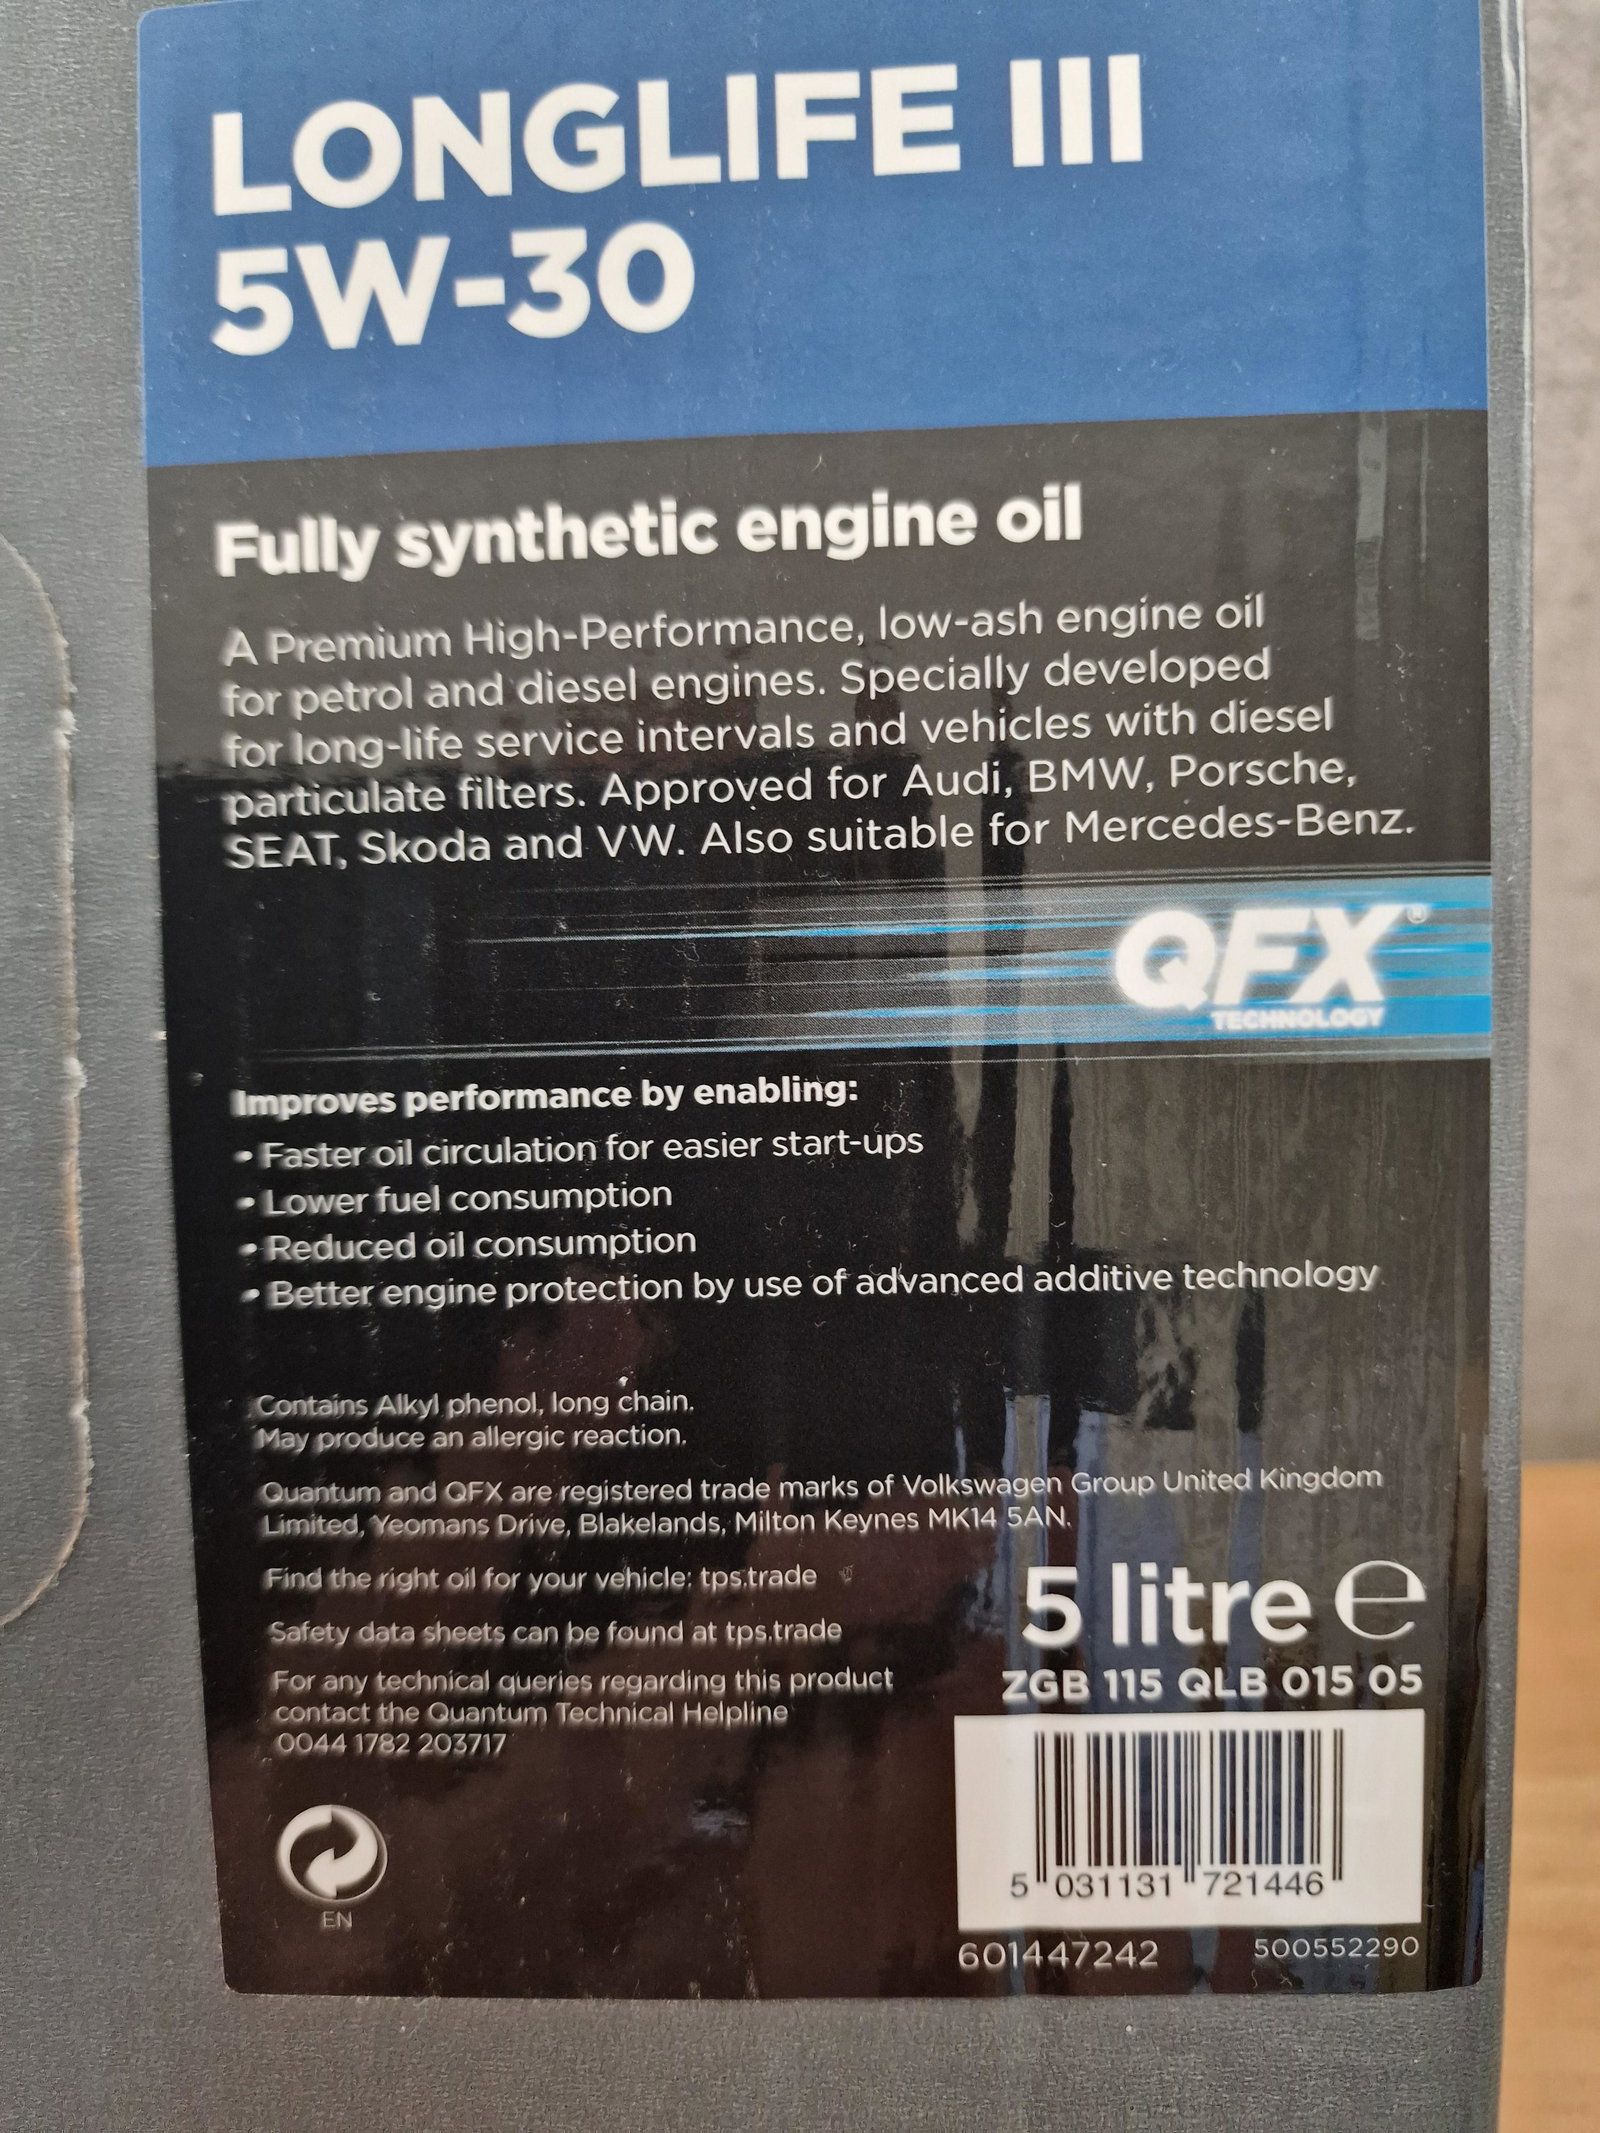
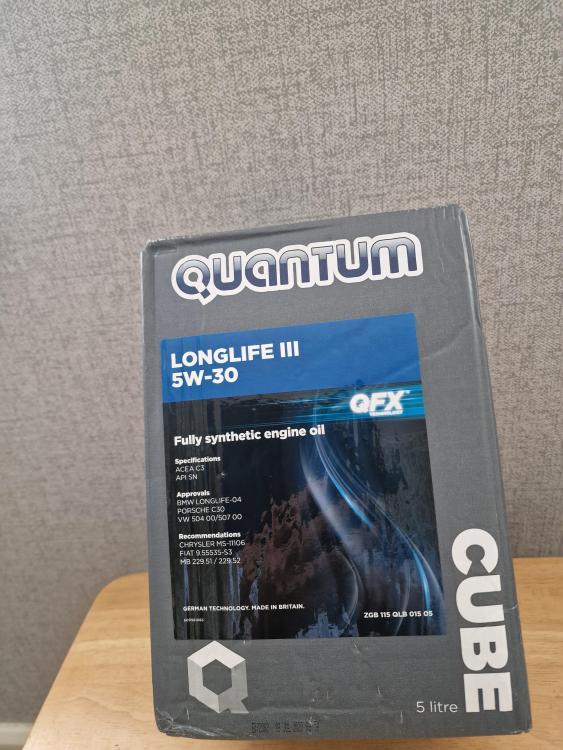
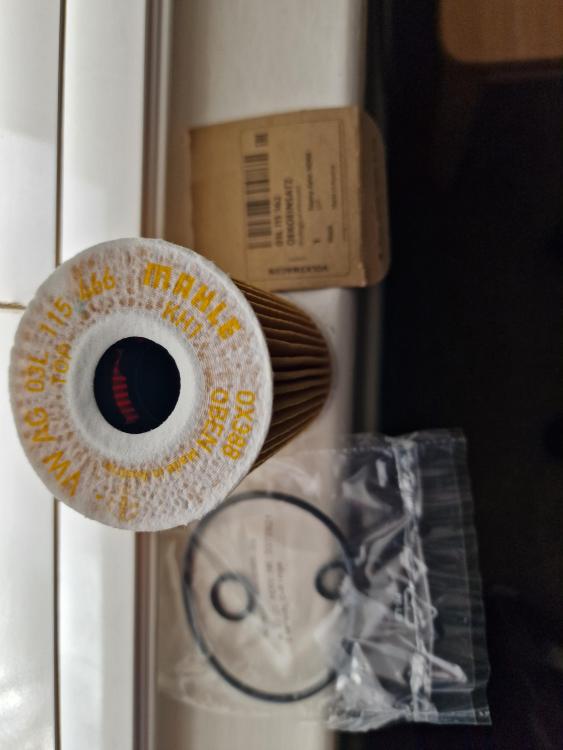
ad not available ? is this now soldhappy easter to all the admin thank you for all your time and effort best wishes stephen😁just done mine with quantum longlife 111 5w/30(bought from ebay) but mines for the a4 b8 2.0tdi...... all good

 mine bleeped loudly the other day.but thankfully it was showing on the dash as a rear winker not working.you could just go round the car to eliminate anything like that.stephenblimey your right gregg not cheap....https://shops.audi.com/en_GB/web/tradition/spare-parts/c-series-audi-100-a6/audi-a6-s6-rs-6-avant-c5-1997-2005/fuel-tanks-pipes-exhaust-system-heatinghi jason i was told that when removing the alternator pulley to remember its opposite thread.but mines a b8....can you confirm this.i could not get mine off in situ.it needs to be on a bench.i left mine as was ok.it was only at the time i had changed all the other rollers.regards stephenjust removed my large front undertray this morning but this is on an audi a4 b8 2011 similar to above but used a torx 25 bit mine are certain type torx screws where you just turn them twice and they are loose enough to pull out.there are 3 torx screws at the back of the tray and 3 at each side of the tray and then i am able to slide the try out backwards....note(if in your case) how the front part of the tray slots in place when putting it back with 2 slots going inside the small tray at the front and two slots stay on the outside of the tray....(note this and take a picture before removing.....you may just need to remove the 3 rear screws(again if in your case) and be able to grab the brush head but it will still mean jacking the car up and putting axle stands under.local garage might be helpful and only charge a small amount.easy enough job for me to do.i used tesco's fuel once in my old volvo v40 and noticed a slight hesitation at times.i always use sainsburys fuel now and had no problems.i read they are still using e5 and not e10 i do use a fuel additive too.whether it really makes a difference i dont know but i have put fuel in twice without additives and never noticed any difference.i dont use sainsburys best diesel(v power)but may use it if convinced on here,and if it means i no longer need to ad additives2 people came to see a car i had for sale while i was distracted, the other put oil in the expansion tank lol i quickly told them to leave....some people todayif you have to take this apart then here is a video on how to.also here is what someone else tried even though its for a different modelhttps://www.audiworld.com/forums/s6-c7-platform-discussion-199/center-armrest-stuck-upright-position-2940426/not sure if you need to know about this one,as just one single call at the time of print sep 2021....https://www.carexpert.com.au/car-news/audi-rsq8-recalled....also this at 60,000 miles.......Eyup gareth its another isle of wight(limited)lolwherever the mechanism is that keeps the shelf in placeyour welcome kevin.i would drink to that if you both could meet up.lol